Boston Children's Museum
308 Congress Street, Boston, MA 02210
617-426-6500
© Boston Children’s Museum 2024
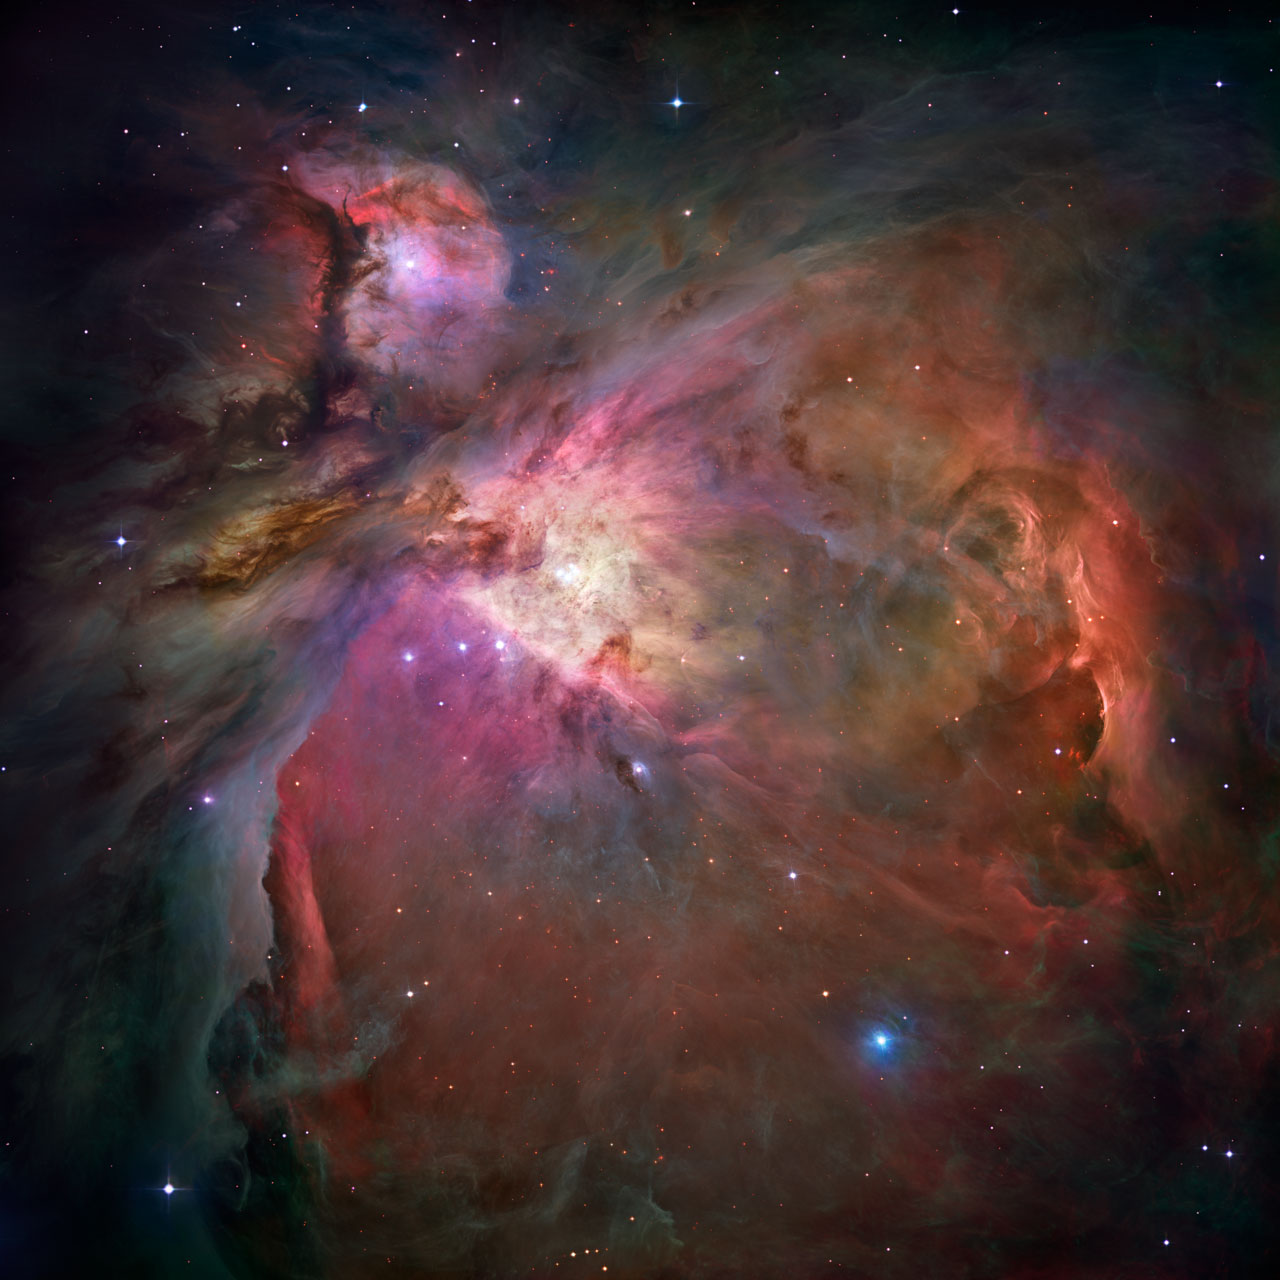
Website Design by JackrabbitConstellations are pictures that people have imagined in the patterns of the stars, and they are familiar in some form or another to most children. It’s also fun to look for them at night…but why wait until night time? Creating homemade projections of these constellations is a fun way to connect to astronomy, and to engage in some basic problem solving and even practice some math. This activity is a good follow-up to Constellation Creation, from this curriculum.
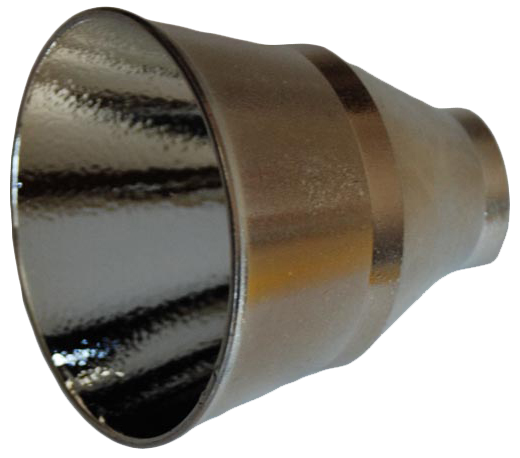
Flashlights – The kind of flashlight you use for this activity is important. LED flashlights are preferred, but whatever kind you use, it is best if you can remove the reflector from the head of the flashlight. The reflector is the shiny, silver cone that lies just inside the lens, and the bulb of the flashlight typically shines inside it. See Figure 1 in Resources below for an idea of what it looks like.
The reflector helps to concentrate the light from the bulb into a defined beam. But for the purposes of this activity, the reflector will result in fuzzy parts of the constellation, or haloes around the stars you are trying to project. Some LED flashlights make it impossible for you to remove the reflector, so see “Suggestions” for flashlight models that work well. Non-LED flashlights with removable bulbs almost always work, and are less expensive than LED lights, but are not as bright as LEDs. You can run this activity with only one flashlight if necessary, or you can have children share as many flashlights as you have available.
Cups – the paper cups should fit over the lit end of your flashlights, and the flashlight should fit at least part of the way into the cup. It might be a good idea to have a few different sizes of cup available for testing.
Remove the reflectors from your flashlights, and make sure all of the flashlights are working.

If you have not yet done it, you might try the Constellation Creation activity from this curriculum as a precursor to this one (click here). If you did this activity, ask your students about the constellations they created. If you did not try Constellation Creation, start by asking your students if they have heard of constellations before. What are constellations? Where can we see them? Where did their names come from? Show your students the images of constellations that you printed, or show them these constellations on a computer, or you can even find your own images to show them online. See “Suggestions” for links to these images. Do they recognize any of these constellations?
Create your own constellation projections using the materials you are given.
After children have created a constellation or two, bring the group together to talk about what they did. Did anyone notice anything about the projected constellations? If they don’t mention it, point out that if they poked the holes going in from the bottom of the cups, so that the constellation looks correct on the bottom of the cup, then it will look backwards when projected. How could they fix this? Also, ask them what they noticed about how the constellations looked when they moved the flashlight farther in or out of the cup.
Are there any other changes they would like to make to their cups? Some children have used black construction paper circles on the bottoms of the cups, before poking the holes. Some children have trimmed long cups so that they were shorter and easier to handle. Some children have even decorated the outsides of their cups with themes that match their chosen constellations.
Have your students go back and make some more constellation cups, then either have a light show, or try this game (get the room nice and dark if it is difficult to see the constellations, but with enough light so that teams can write on paper and see what they have written):
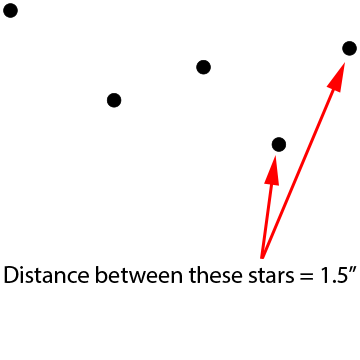
That last link is a printable image that would work great for this activity, though they do not represent precisely accurate distances between the stars in each constellation.
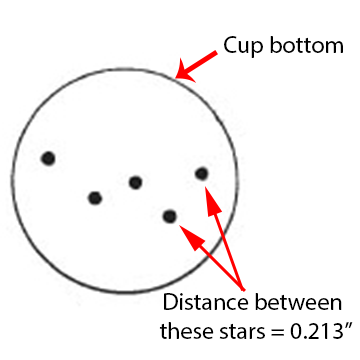
Multiply that number by each distance between stars in the printed constellation image to know precisely how far apart the stars should be placed on the cup. For example, if the distance between star A and star B is 1.5 inches…:
…then they should be placed .231 inches apart on the cup:
Earth and Space science activities were developed with the support of NASA. This material is based upon work supported by NASA under grant award number NNX14AQ83G. Any opinions, findings, and conclusions or recommendations expressed in this material are those of the author(s) and do not necessarily reflect the views of the National Aeronautics and Space Administration (NASA).
Boston Children's Museum
308 Congress Street, Boston, MA 02210
617-426-6500
© Boston Children’s Museum 2024
Website Design by Jackrabbit