Corn Husk Dolls

Art Culture
Time 45 minutes
Age 7 & up
Group Size 4 or more
Tags Craft, Individual, Native Americans,   more...
Thanksgiving

Make dolls and action figures with dried corn husks!

For the Wampanoag Tribal Nation in Massachusetts, summer brings many things to be thankful for—including corn! Corn is special to the Wampanoag, and making corn husk dolls is just one way that parts of the corn plant are traditionally used. Try out this activity that Wampanoag children and adults have been doing for many years (and if you like, you can call them “action figures” instead of dolls). Click here to watch a video of traditional Wampanoag corn husk doll making.

Preparation

Gather the materials. Soak the corn husks in warm water until they are saturated and flexible. Make sure that the bucket or bin you are using is large enough to fit the husks in. You will need to soak about 15 husks per student.

Corn Husk Dolls

Suggested Materials

  • Corn husks or tamale wrappers (3 packages)
  • Scissors
  • Bucket or large bin
  • Yarn or twine
1

Make it Matter

Opening Discussion

Ask your students if they have ever seen or owned dolls or “action figures” before. What are they usually made of? Did they ever try making their own dolls or action figures out of any different materials? Tell your students that people have been making dolls for thousands of years out of many different materials, and that today they will make dolls in a way that Native American children and adults have been making them for many years.

The Challenge

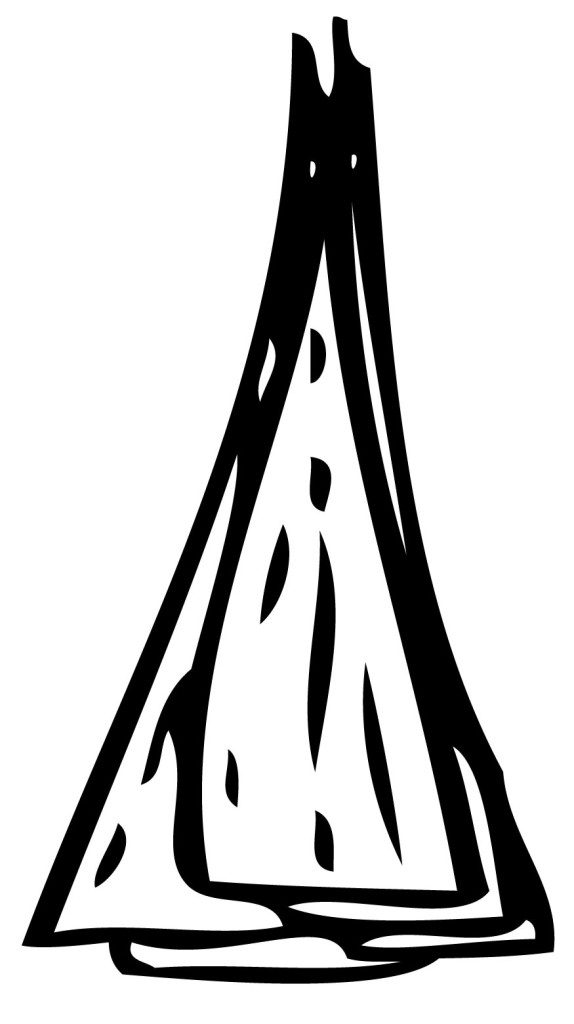
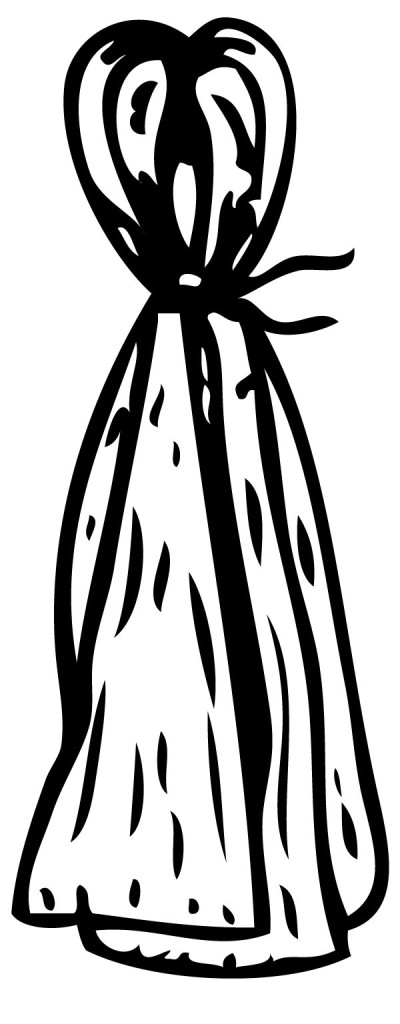
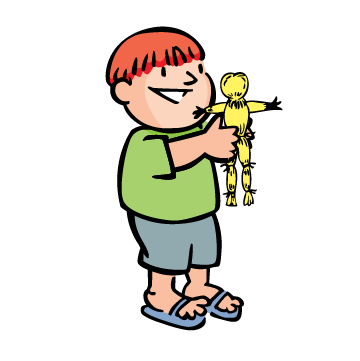
Make a doll out of dried corn husks.

2

Make it Happen

Doing the Activity

  1. Students may work individually for this activity or in teams of 2.
  2. Remove the soaked corn husks from the water and separate the bundles into individual husks. Pass out 7 full-sized husks to each student.
  3. It might help for you to make these dolls along with your kids so you can demonstrate each step for them.
  4. Each student should split the full husks into strips by tearing from the wide end of the husk to the pointed end. The strips should each be 1–2 inches at the wide end. You can use any thin strands for tying the doll.
  5. Organize the strips in a pile, with all of the “points” in one direction and the wide ends in the other direction (Click here for Figure 1).
  6. To begin making the doll, use about 8 strips organized in a pile (See Figure 1). Tie the husks together by making a knot with yarn, twine or thin corn husks and tying it about an inch from the pointed end of the husks (See Figure 2).
  7. Separate the 8 tied strips in half by placing your finger in the middle (4 on one side of the finger, 4 on the other) and fold one side open, which will turn the knot to the inside of the 8 strips. This will be the head of the doll (See Figure 3).
  8. Make the head by tying a knot with a piece of yarn or twine approximately 1 inch down from the top of the bundle. Just like every person looks a little different, no two heads will be exactly the same. This makes every doll special (See Figure 4).
  9. Make the arms next – tie a new bundle of strips (about 4 of them) at both ends with yarn or twine, securing them together. For more of a challenge, you can braid 3 strips together, which works really well (See Figure 5).
  10. Insert the arms into the middle of the doll, sandwiched between the 4 husks on either side. Secure the arms by tying a piece of yarn or twine around the waist, about an inch or 2 below the arms (See Figure 6).
3

Make it Click

Let’s Talk About It

After students have created their dolls, bring them together to talk about what they have done. Which step was the hardest? Does their doll remind them of anything? Is there anything they would change?

4

Make it Better

Build On What They Talked About

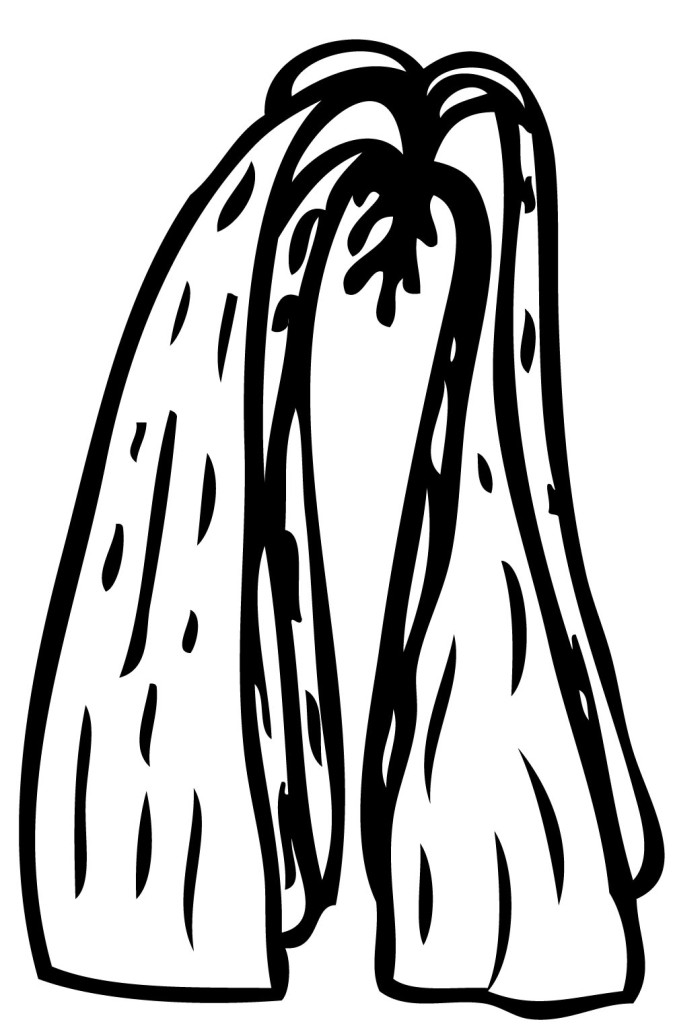
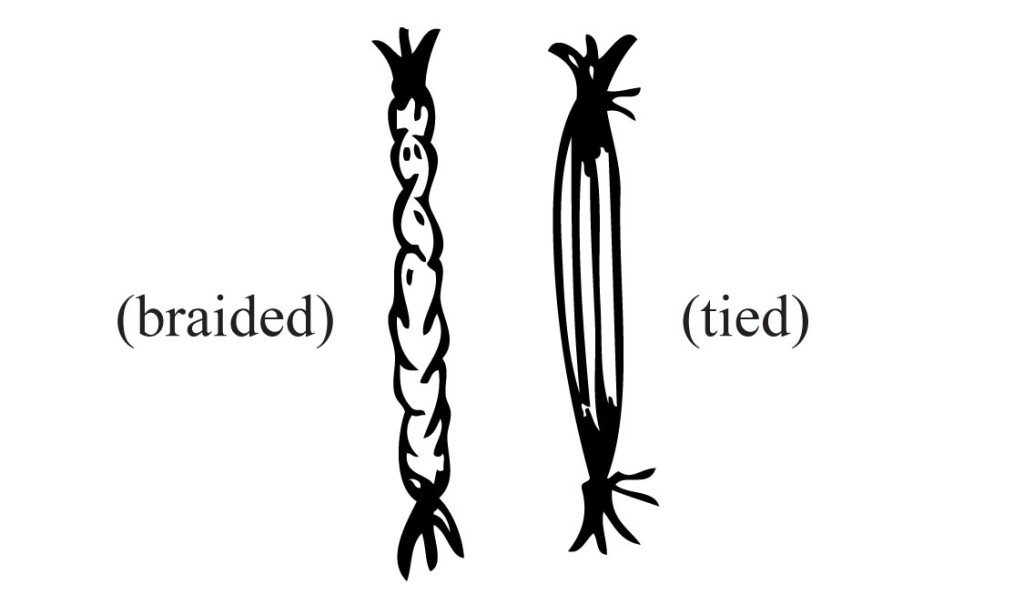
If they would like, students can choose to add legs to their dolls. Split the bottom half of the doll in 2 parts by tearing the husks from the bottom toward the waist. Tie the 2 halves with pieces of yarn or twine at the “knees” and the “ankles”. Once they are tied, the 2 halves will resemble legs (See Figure 7). As a next step, you could challenge students to create their own method for creating dolls out of corn husks. How many different kinds can they make?

Suggestions

  • It is very important that you do not have students paint faces on their corn husk dolls. In Wampanoag tradition, it is forbidden to paint faces on these dolls.
  • Clothing can be made by placing 2 strips of husks diagonally in a crisscross pattern over the shoulders of the doll. Tie them at the waist to keep them in place.
  • Video of traditional Wampanoag corn husk doll making
Print Friendly