
Boston Children's Museum
308 Congress Street, Boston, MA 02210
617-426-6500
© Boston Children’s Museum 2025
Website Design by JackrabbitWhen we look up at the Moon, we see that it is pock marked with countless craters. We have craters here on Earth, too (though many fewer). It is these craters, along with some of the geological activity of the Moon from a long time ago, that makes those distinct patterns on the Moon’s surface that different cultures equate to a “man in the Moon”, or a “rabbit in the Moon.” Studying the process by which these craters came to be is not only good learning…it is a lot of fun too. In playing around with making their own little craters, children practice experimenting, measuring, isolating variables, and more.
This activity is great to do outside, since sand may spray out of the containers during the experiments. If you do it inside, you should choose an area you can sweep easily, and possibly lay down tarp or poly sheeting, aka painter’s plastic to catch the sand.
If you are using the pool, pour your sand into it. You’ll need a few bags, but you can leave it out after this activity as a sand box for younger kids to play in. If you are using buckets, pie plates, or aluminum baking pans fill these with sand to a depth of at least 3 inches, or 8 centimeters.
Collect rocks from around the neighborhood. Ideally you will have rocks of different sizes and shapes. All rocks should be easily handled by kids. Group the rocks as “small”, “medium” and “large”, using their relative sizes.

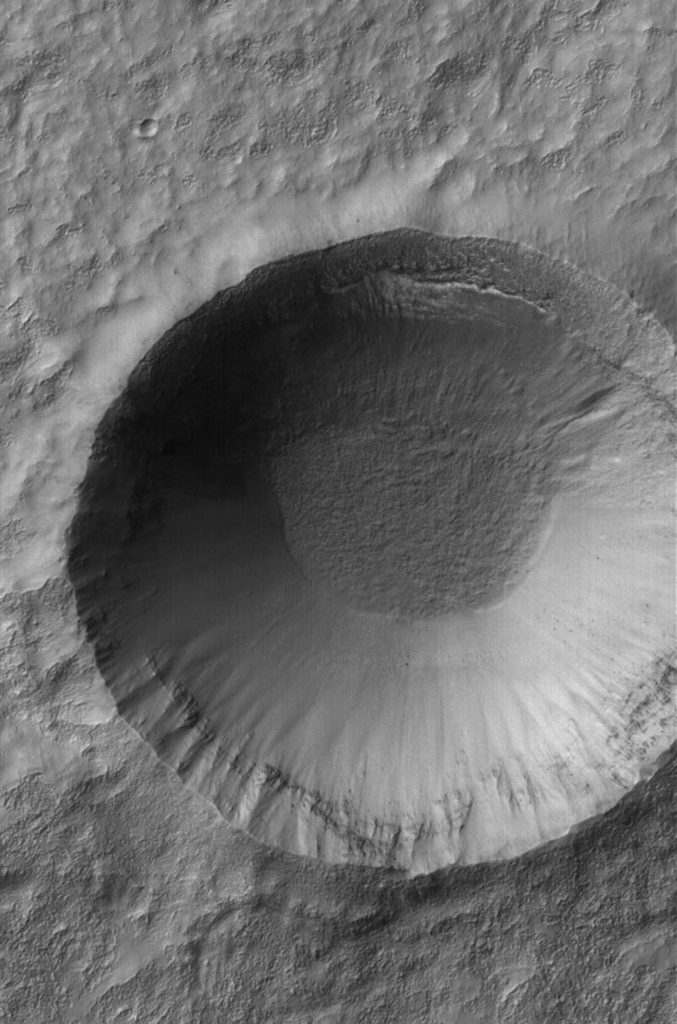
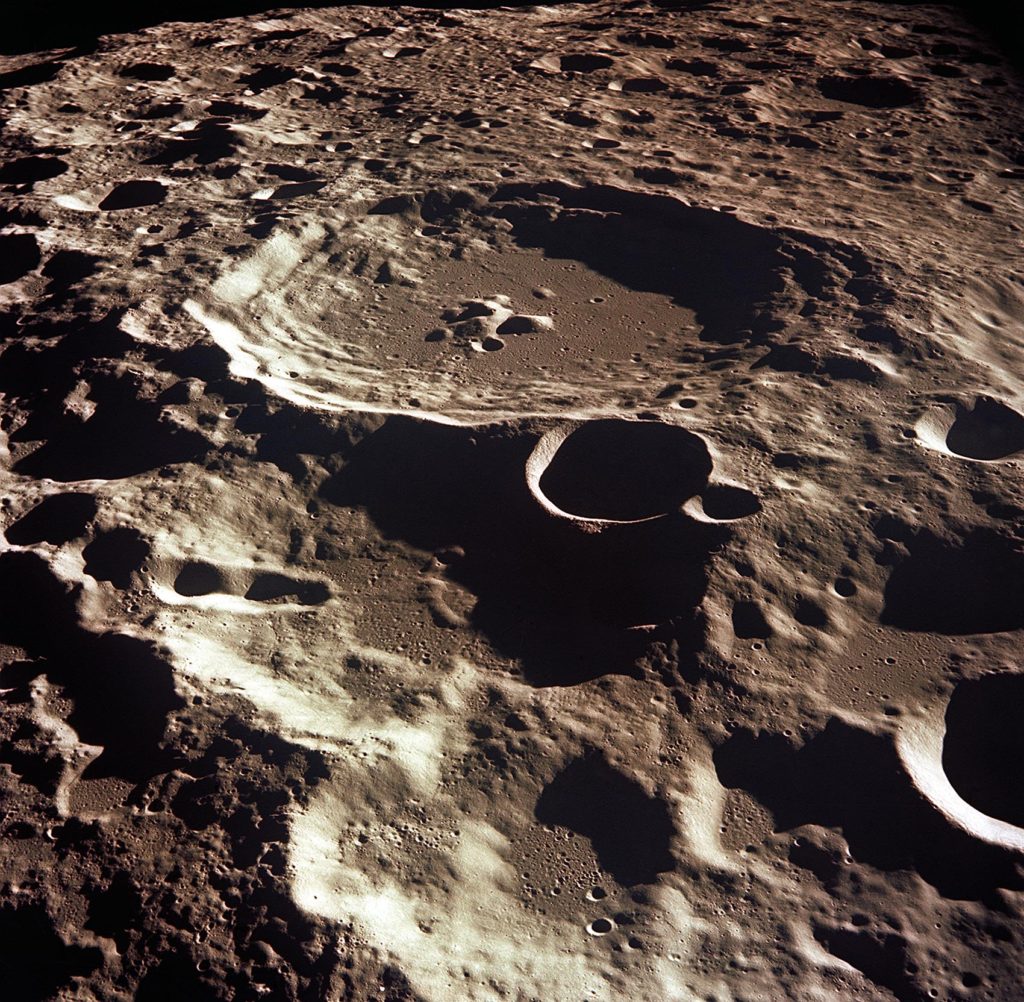
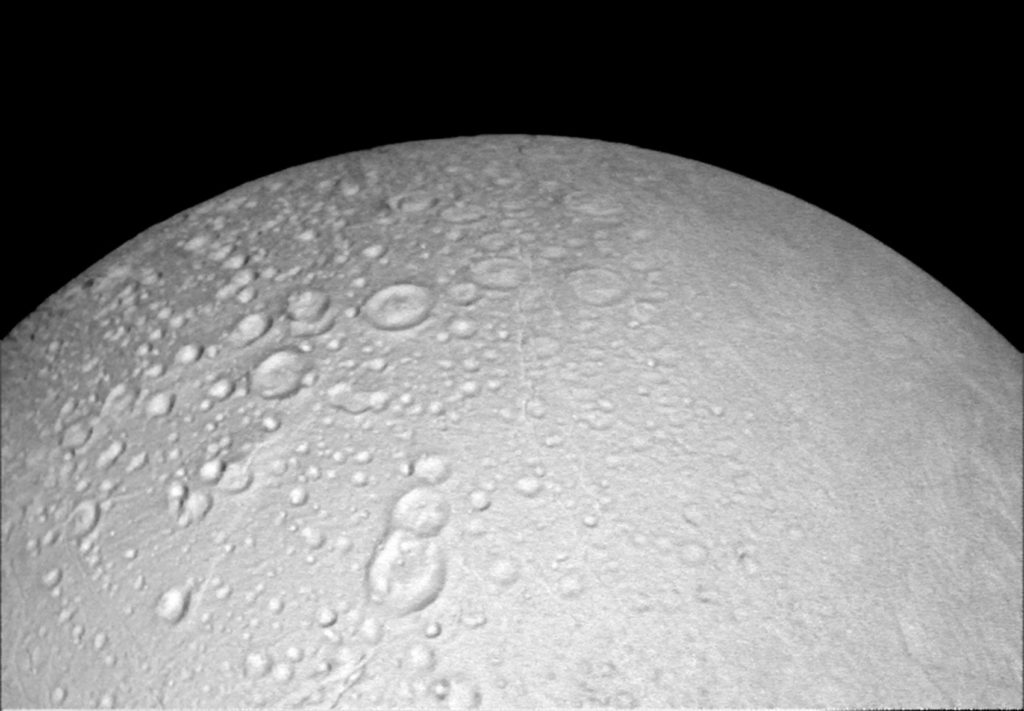
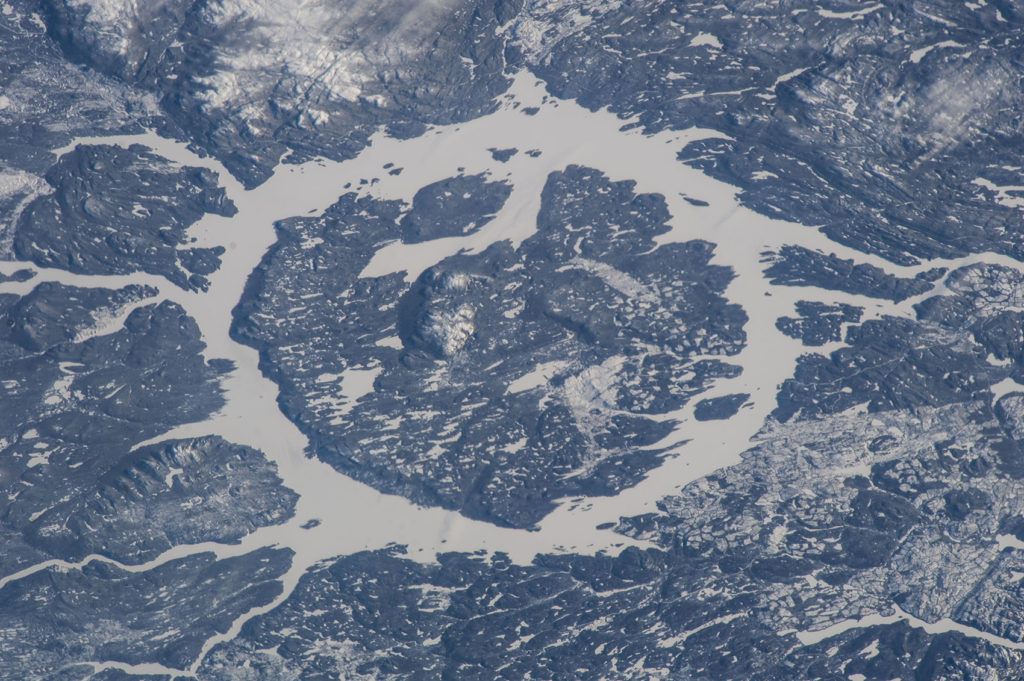
Ask your students if they have ever heard of craters before. Where might they see craters? Encourage responses like “the Moon”, “planets”, and also “on Earth”. What do they think causes craters? Lead the discussion toward the response that craters are often caused by objects (like meteorites) smashing in to the ground. Show the group some of the NASA images of craters you printed out or can share on a computer, from Resources, above. What do they notice about the shape of the craters? Ask them if they think every crater looks the same, or if craters come in different shapes, sizes, and depths. What might cause these differences? Ask them to list the different factors (or variables) that might cause different-sized or shaped craters. Write this list down on a piece of chart paper or dry erase board. Make sure the list includes:
Then, ask them if they would like to experiment by creating their own small craters, and seeing how craters are formed.
Make your own craters, and learn a little about how they form!
After their first round of tests, bring the teams together to share their results. Have them show the rocks they used. If you can, create a chart for each team, listing rock size, drop height, and crater width for each trial. Ask your students what observations they made. Do they notice a difference between the small, medium and large rocks? If not, how big a rock do they think they would need before they notice a difference? What other variables from the list you created, can they test? For instance, would a crater look different in wet sand vs. dry sand (testing the material variable)? How about differences between their original drop height and a lower or higher height? Emphasize for students this important rule – they should only change one variable at a time. For example, if they would like to compare different materials – like wet vs. dry sand – then they should use the same rock, dropped from the same height, by the same Crater Maker, once with wet sand, and once with dry sand. If they are testing the speed variable (which changes based on the height they drop the rock from), then they should use the same rock, same Crater Maker, and same material.
Have teams go back and try again. They should all switch roles so that a new team member can be the Crater Maker, the Measurer and the Recorder. They should also remember to smooth out the surface of their sand before each test. The new Crater Maker from each team should come up and choose a new rock, ideally of a different size (though it can be the same size, as long as it is a new rock). Have them run their tests again, share results again, and keep testing until each team member gets a chance to be the Crater Maker.
Encourage teams to use the same drop height as their previous test when they choose a different rock size. If they choose a rock size that they have tested before, encourage them to change their drop height. What do they notice?
Earth and Space science activities were developed with the support of NASA. This material is based upon work supported by NASA under grant award number NNX14AQ83G. Any opinions, findings, and conclusions or recommendations expressed in this material are those of the author(s) and do not necessarily reflect the views of the National Aeronautics and Space Administration (NASA).
Boston Children's Museum
308 Congress Street, Boston, MA 02210
617-426-6500
© Boston Children’s Museum 2025
Website Design by Jackrabbit